Clinical apps manage sensitive data like electronic health records (EHRs) and patient monitoring systems, making them prime targets for cyberattacks. Healthcare breaches in recent years have exposed millions of records and cost organizations billions. Writing clear, actionable vulnerability reports is critical to protecting patient data, ensuring compliance with HIPAA, and minimizing risks to patient safety.
Here’s what you need to know to create effective reports:
- Define the scope: Identify all clinical systems, including EHRs, APIs, and IoMT devices, and rank them by clinical importance.
- Document vulnerabilities clearly: Include details like CVSS scores, affected systems, and remediation steps. Avoid ambiguity.
- Prioritize risks: Use a risk matrix to balance technical severity with clinical impact. Focus on vulnerabilities that could disrupt care or expose patient data.
- Set up workflows: Test patches in controlled environments, automate ticketing, and verify fixes with post-remediation scans.
- Tailor reporting: Create dashboards for executives (high-level metrics) and IT teams (detailed action plans).
- Maintain compliance records: Keep detailed audit trails to meet HIPAA and other regulatory requirements.

6-Step Process for Creating Effective Clinical App Vulnerability Reports
How To Write A Vulnerability Disclosure
sbb-itb-535baee
Step 1: Set the Report Scope and Gather Clinical Asset Information
Start by defining the boundaries of your clinical systems. This step is critical because it determines whether your assessment will identify crucial vulnerabilities or leave significant gaps.
The HIPAA Security Rule (45 CFR § 164.308) mandates organizations to "Conduct an accurate and thorough assessment of the potential risks and vulnerabilities to the confidentiality, integrity, and availability of electronic protected health information held by the [organization]." [10] That means you need to include every system that interacts with electronic protected health information (e-PHI). This includes workstations, networks, portable media, and medical devices[10]. Many organizations transitioning to hybrid cloud environments uncover 15–30% more assets than their records show[12]. This makes a comprehensive inventory an absolute must, laying the groundwork for prioritizing assets based on clinical risk.
Identify Critical Clinical Assets
Not all systems pose the same level of risk. To focus your efforts, rank systems by their clinical criticality, which measures the potential impact of a compromise on patient care and operations. Classify assets into four categories: Very High (essential for survival), High (crucial for core functions), Medium (moderate impact), and Low (minimal impact)[13].
Your inventory should cover a range of assets, including web applications like electronic health records (EHRs) and patient portals, FHIR APIs for data exchange, cloud environments storing patient data, and IoMT devices such as infusion pumps and diagnostic tools[11]. A real-world example highlighting the importance of this step is the March 2026 Stryker incident. Attackers exploited Microsoft Intune MDM to breach 80,000–200,000 devices - not through a traditional CVE, but by targeting cloud management configurations that standard scans often overlook[12].
It’s also essential to differentiate between third-party services and your organization’s configuration of those services. Patrik Grobshäuser from ResponsibleDisclosure explains:
"The distinction is whether the vulnerability is in your configuration and usage of the third-party service, or in the service itself. The former is in scope because you can fix it. The latter isn't because you can't." [9]
For instance, vulnerabilities in AWS itself are out of scope, but if a poorly configured S3 bucket exposes patient records, that’s on you[9]. This distinction ensures your inventory focuses on what you can control, forming the backbone of your vulnerability assessments and remediation efforts. This process is a core component of third-party vendor risk management within the healthcare ecosystem.
Use Credentialed Scans for Accurate Data Collection
When it comes to clinical systems, authenticated scanning is a must. Unlike basic network scans that only detect public-facing issues, credentialed scans use test accounts to access restricted areas - where sensitive e-PHI is often stored[11]. These scans can uncover system settings, software versions, and missing patches that unauthenticated scans might miss.
The 2017 Equifax breach serves as a cautionary tale. Their vulnerability scans overlooked an Apache Struts subdirectory containing CVE-2017-5638, which led to the exposure of 147 million records[12]. To avoid similar oversights, establish clear data handling protocols. Ensure scanners use test accounts instead of real patient data to limit exposure[9]. Additionally, define prohibited methods - like Denial of Service (DoS) attacks, social engineering targeting staff, or physical security tests - to prevent disruptions to patient care[9].
Step 2: Document Vulnerabilities in a Clear Format
Once you've completed your asset inventory and scans, the next step is to document vulnerabilities clearly and consistently. This step is crucial for helping your remediation teams prioritize and address issues effectively. A well-structured report eliminates the confusion that can arise from incomplete or inconsistent documentation. As David Sopas, a security researcher at Cobalt, aptly states:
"A well written report of bugs or pentests will make a major difference in your ability to help the program owners or pentest clients understand and correct problems and increase your value." [14]
By organizing your findings into a structured format, you turn raw data into a practical roadmap for fixing vulnerabilities.
Include Key Details for Each Vulnerability
Each vulnerability entry should provide all the information your IT and security teams need to evaluate and resolve the issue. Start with basic identifiers like the vulnerability name, an internal ID, and standard references such as CVE or CWE numbers. These identifiers ensure that everyone is on the same page, whether they're internal teams or external collaborators. Include CVSS scores to indicate severity and EPSS scores to estimate the likelihood of exploitation.
Be specific about where the vulnerability exists. Whether it's a file path, a line of code, or a specific asset identifier, this precision helps developers locate and address the issue quickly.
Also, document detection metadata, such as the discovery date, the scanning tool used, and the type of report (e.g., SAST, container scanning, or manual entry). Track the vulnerability's lifecycle status - whether it requires triage, has been confirmed, is dismissed, or has been resolved. For urgent issues, note if the vulnerability is classified as a Known Exploited Vulnerability (KEV).
If a vulnerability is dismissed, always include a clear explanation. For example, it might be a false positive or an acceptable risk based on your specific environment. Provide a detailed comment and dismissal reason for auditing purposes. Remember, vulnerability records should never be deleted; instead, update their status to maintain a full audit trail.
Provide Step-by-Step Remediation Instructions
Identifying vulnerabilities is only part of the process. A comprehensive report should also include clear, actionable remediation steps. Think of this as a guide for someone addressing the issue for the first time. Include detailed reproduction steps, such as HTTP requests and responses, screenshots, or specific user actions that reveal the problem.
Follow these reproduction steps with precise remediation instructions. Whether it's input validation, whitelisting, or applying a specific patch, your guidance should leave no room for ambiguity. Where possible, link vulnerabilities to active workflows like internal tickets (e.g., Jira issues) or merge requests to streamline the process.
If automated solutions or AI-generated fixes are available, mention them to speed up remediation. Before finalizing the report, ensure all sensitive information, such as personal data in screenshots or logs, is redacted to comply with privacy regulations.
Step 3: Prioritize Risks Based on Clinical Context
In healthcare, not all vulnerabilities carry the same urgency. A high CVSS score doesn’t always mean a vulnerability should be your top priority. Instead, it’s essential to weigh technical severity against clinical consequences. This approach turns raw vulnerability data into a prioritized action plan that aligns with the specific needs of clinical operations. By doing this, you’ll be ready to create targeted remediation workflows in the following steps.
Create a Risk Matrix
A risk matrix helps you systematically evaluate vulnerabilities by comparing technical severity with clinical impact. Start by mapping CVSS scores - Critical (9.0–10.0), High (7.0–8.9), Medium (4.0–6.9), and Low (0.0–3.9) - against the importance of clinical assets and exploitability. Then, classify systems based on their role in patient care. For instance, life-critical devices like infusion pumps should receive the highest priority, while back-office systems can rank lower.
Each cell in the matrix represents a priority level (P1 through P4) with specific service-level agreements (SLAs). For example, a P1 vulnerability - like a SQL injection with a CVSS score of 9.8 in an infusion pump controller - requires remediation within 24 to 72 hours due to its potential impact on patient safety. On the other hand, a P3 vulnerability in a scheduling system might have a 30-day remediation window. Adding color codes (red for high risk, yellow for medium, green for low) makes it easier for teams to quickly identify and address critical issues.
| Risk Level | Severity (CVSS) | Clinical Impact | SLA (Resolution Time) | Example Vulnerability |
|---|---|---|---|---|
| Critical (P1) | 9.0–10.0 | High (patient harm) | 24–72 hours | Unpatched EHR remote code execution |
| High (P2) | 7.0–8.9 | Medium (PHI leak) | 7 days | Weak authentication in imaging systems |
| Medium (P3) | 4.0–6.9 | Low (minor downtime) | 30 days | Deprecated TLS in patient portal |
| Low (P4) | 0.0–3.9 | None | 90 days | Information disclosure in logs |
Integrate Clinical and Regulatory Impacts
While technical scores provide a baseline, they don’t tell the whole story. Patient safety, operational continuity, and HIPAA compliance are equally important when setting priorities. For example, a vulnerability that could alter diagnostic imaging results or disrupt access to electronic health records (EHRs) during patient care should be addressed immediately, even if its CVSS score is moderate. Take the case of a Heartbleed vulnerability with a CVSS score of 5.1 in an outdated cardiology PACS. Despite the moderate score, it was reprioritized to P1 because altered heart scans could lead to misdiagnoses, posing risks to patient safety and HIPAA compliance.
HIPAA regulations (45 CFR § 164.308) require healthcare organizations to assess risks to protected health information (PHI). Vulnerabilities that could allow unauthorized access to PHI must be prioritized. Non-compliance can result in fines ranging from $50,000 to $1.5 million per violation. For instance, a medium-severity vulnerability in a HIPAA-regulated application affecting PHI transmission might need to be treated as P1 or P2, requiring remediation within 14 days instead of the usual 90 days for non-PHI systems. In 2022, healthcare organizations reported 707 breaches affecting over 112 million individuals, with 65% linked to unpatched clinical application vulnerabilities. These breaches led to regulatory fines totaling $6.8 million [8].
Operational disruptions also demand attention. Downtime in systems like EHRs or telemedicine platforms can bring care delivery to a standstill. To account for these factors, consider assigning weighted scores in your risk matrix. For instance, add a multiplier of +2 for vulnerabilities that impact patient safety or +3 for those affecting PHI. This method ensures your prioritization reflects the real-world risks that clinical environments face every day.
Step 4: Set Up Remediation Workflows
Once you've prioritized risks, the next step is to create clear workflows that move identified vulnerabilities from discovery to resolution without disrupting clinical operations. Start by deploying patches in temporary staging environments that closely replicate your production systems. This approach allows you to test for potential system failures or compatibility issues without risking live operations[16][18]. If a patch doesn't perform as expected during testing, consider applying temporary measures like Web Application Firewall (WAF) rules or network segmentation to safeguard the affected system while working on a permanent fix[17][18]. This structured workflow ensures a seamless transition to later remediation steps.
Test Patches in Controlled Environments
Never roll out patches directly to production systems. Instead, use controlled environments, such as labs or pilot groups, to test stability and compatibility. For example, when updating a clinical device like an infusion pump controller, start by applying the patch to a small, isolated group of devices. Automated validation loops can help by immediately re-testing systems after a patch is applied. If the vulnerability persists or causes new issues, the system can automatically trigger a rollback or send an alert[15][17][19]. To maintain consistency, use version-controlled remediation playbooks across clinical and IT teams[17]. Prioritize vulnerabilities with "Verified Exploit Paths", focusing on those actively exploited in critical patient-care systems[16][19]. It's worth noting that unpatched vulnerabilities account for about 38% of cyber intrusions[18].
Connect Workflows with ITSM and DevSecOps
Once a patch is verified in a controlled environment, use automation to streamline the process further. Integrate vulnerability scanners like Qualys or Tenable with IT Service Management (ITSM) tools such as ServiceNow or Jira. This setup allows for automatic ticket creation and routing to the appropriate clinical engineering teams[15][19]. By automating these handoffs, you can reduce delays and improve efficiency. Set Service Level Agreements (SLAs) based on risk levels - for instance, critical patches should be tested and deployed within 24–48 hours - and use automation to track delays[19]. Automated workflows can significantly cut down remediation time. According to Expel, moving from manual processes to automated systems reduced remediation times by 87.5% in their study[17].
Verify Fixes with Post-Remediation Scans
The remediation process isn't complete until you've verified the fix. Configure your security platform to automatically initiate a "Proof-Based Scan" once a vulnerability is marked as resolved in the ticketing system[15]. This step ensures that the fix is effective and hasn't introduced new risks or instability[17][19]. If the scan reveals that the vulnerability persists, the workflow should automatically reassign the ticket to the responsible developer, along with updated scan data[15]. Continuous monitoring is also crucial to detect instances where previously resolved vulnerabilities reappear due to changes in configurations or environments[19].
Jake O'Donnell, Senior Technical Marketing Manager at Cymulate, emphasizes the importance of this step:
"Remediation is worthless if it doesn't actually fix issues. Validation ensures that efforts at fixes are real and persistent"[17].
Lastly, ensure all validation results are logged with audit trails. This provides a clear and compliant record for regulatory requirements, such as those outlined by HIPAA[19].
Step 5: Create Role-Based Dashboards and Reports
Once you've streamlined your remediation workflows, the next step is tailoring your reporting to fit the specific needs of each stakeholder. Different roles require different perspectives on vulnerability data. Executives need to quickly grasp business risks, while IT and security teams require detailed, actionable insights to fix vulnerabilities. By creating role-based dashboards, you ensure that each group gets the information they need to act effectively. This approach equips both leadership and technical teams to address vulnerabilities from their unique vantage points.
Dashboards for Executive Stakeholders
In healthcare, risks tied to clinical applications can directly affect patient care. Dashboards for executives should focus on high-level metrics that translate technical risks into clear business implications. For instance, use simple line charts to show trends, such as a reduction in overall risk scores - e.g., from 75% to 45% over six months. Highlight SLA compliance rates, like "95% of critical vulnerabilities resolved within 7 days", and display the current number of high-risk vulnerabilities. Color-coded gauges (green for compliant, yellow for warning, red for critical) can provide a quick snapshot of the organization's security posture [1][3].
To keep these dashboards effective, limit them to 4-6 key visual widgets. Use large fonts (14pt or more) and maintain a consistent color scheme. Avoid cluttering the view with raw data tables. Instead, emphasize clinical context by flagging vulnerabilities in patient-facing systems - like EHR modules or patient monitoring tools - with red markers for immediate attention [1][2]. A 2023 Ponemon Institute study found that executive dashboards centered on 3-5 key metrics lead to 25% faster buy-in for security initiatives [8].
Reports for IT and Security Teams
While executives need an overview, IT and security teams require detailed, actionable data for remediation. These teams benefit from reports that include prioritized remediation lists, focusing on vulnerabilities with CVSS scores above 7.0. Add timers to show how long vulnerabilities have been open (e.g., critical: under 7 days, high-risk: under 30 days), and include detailed information such as CVE identifiers and the affected assets. To further aid prioritization, include exploitability metrics like EPSS scores, which indicate the likelihood of active exploitation, along with patch status (e.g., tested, pending, or deployed) [1][2].
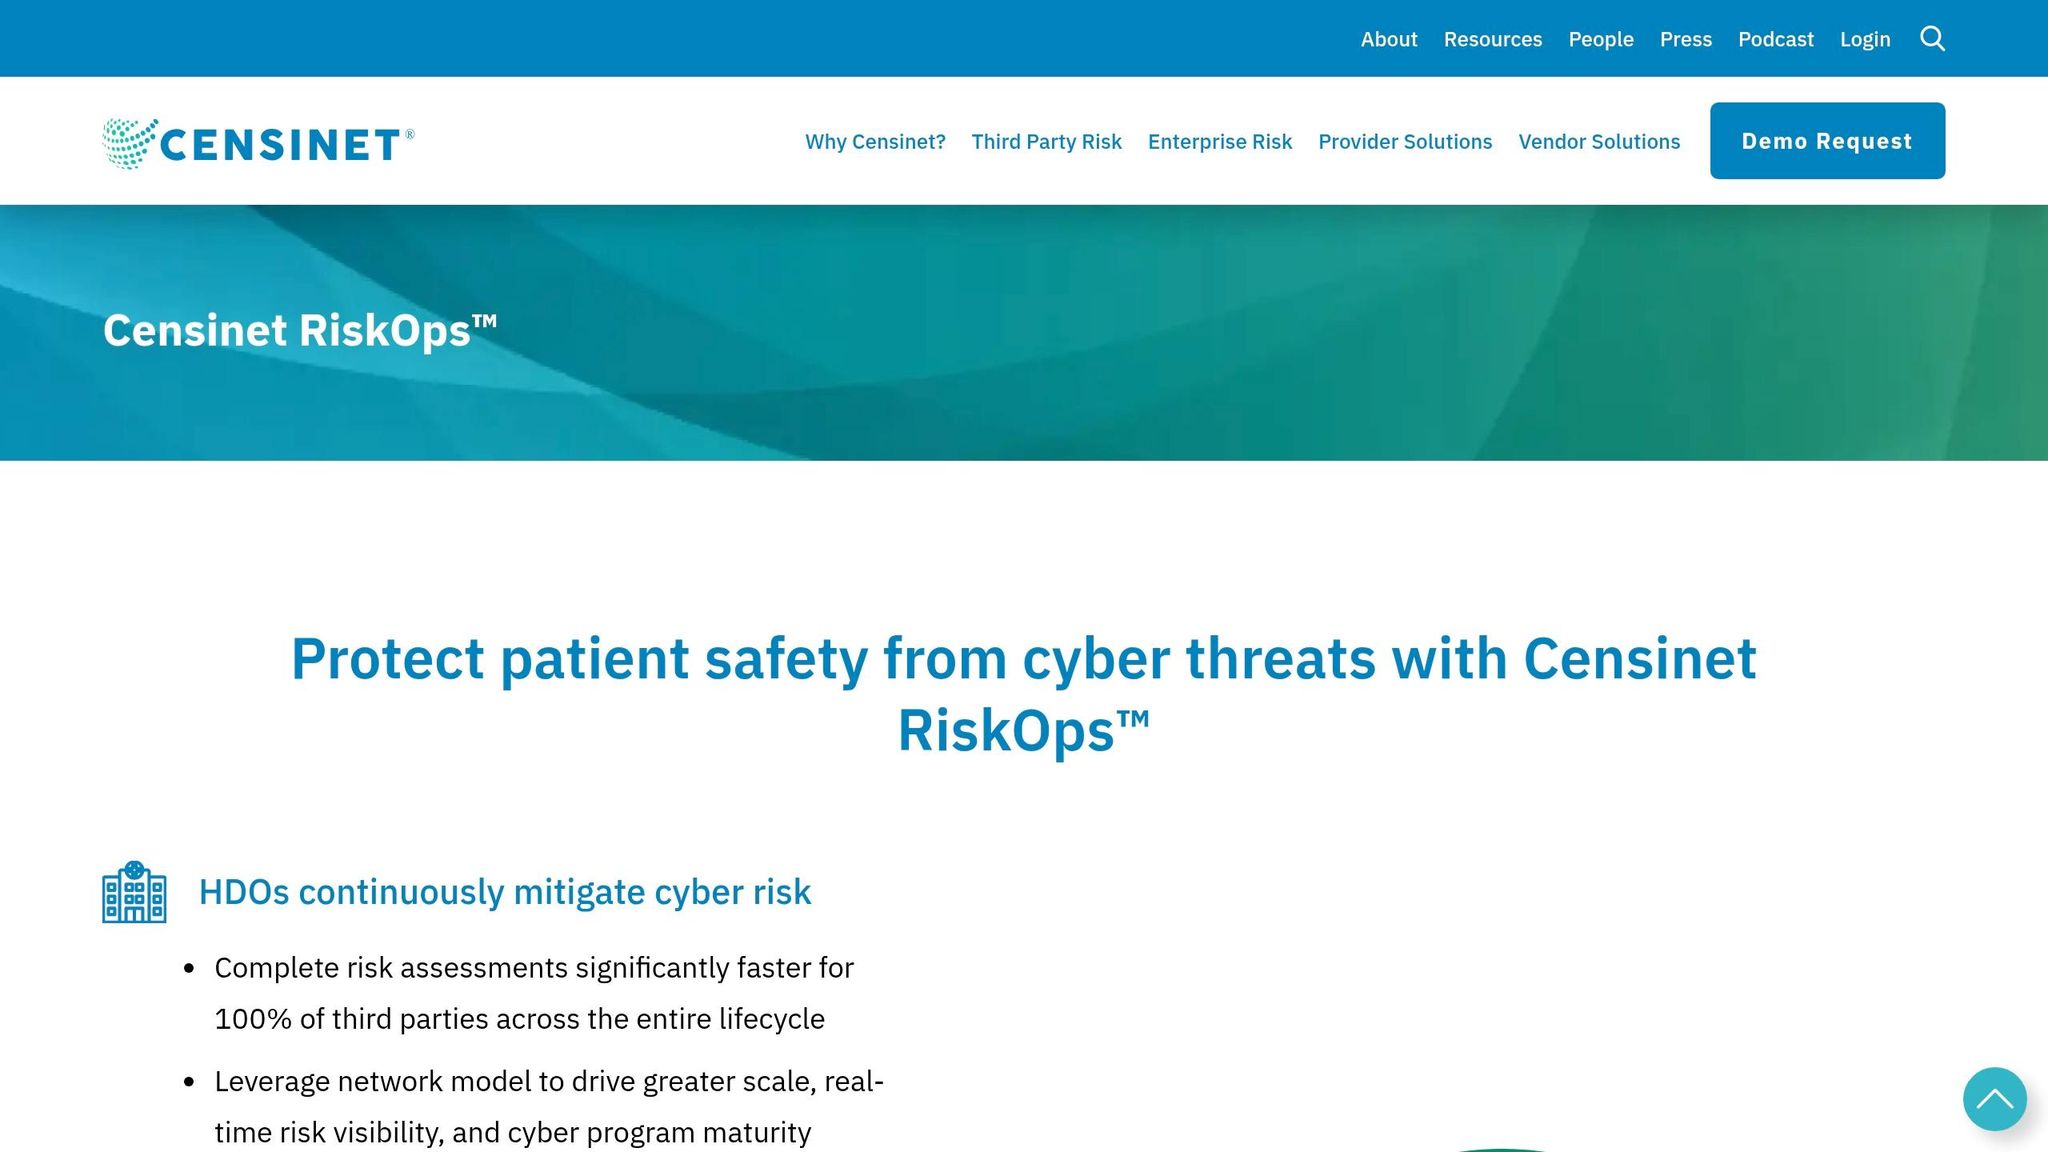
Ensure these reports are exportable in formats like CSV and allow filtering by asset type, clinical application, or department. Include pre- and post-scan comparisons to validate remediation efforts. For example: "Pre-patch: 12 vulnerabilities; Post-patch: 0 confirmed fixed", with timestamps in MM/DD/YYYY format [4]. Keeping the data clear and actionable is crucial, as studies show that 78% of security teams improve remediation times when using role-based dashboards [7]. Tools like Censinet RiskOps™ simplify this process, offering executive-level insights into third-party risks while providing security teams with detailed vendor assessments. This platform supports over 200 healthcare organizations by automating benchmarking and enabling collaborative risk management [6].
Step 6: Maintain Documentation and Compliance Records
Once your dashboards and workflows are set up, the next step is to ensure thorough documentation that demonstrates your organization's commitment to managing vulnerabilities responsibly. In healthcare, this isn't just about best practices - it’s a legal obligation. For example, the HIPAA Security Rule (45 CFR § 164.316) mandates covered entities to keep audit logs showing access to and changes in electronic PHI, including actions taken to address vulnerabilities. Similarly, NIST SP 800-53's AU-3 control requires audit records of critical events like vulnerability scans and fixes, which typically need to be retained for 1-7 years based on your policies [1]. Without these records, your organization could face fines of up to $1.5 million per violation category annually under HIPAA [4]. These documents are not only crucial for regulatory reviews but also for internal audits.
Keep Detailed Audit Trails
A comprehensive audit trail captures every step of the remediation process. As outlined in earlier steps, proper documentation supports both effective remediation and compliance. Your audit trail should provide a complete narrative for each vulnerability, from discovery to resolution. Key elements to include are:
- Scan results with vulnerability IDs (e.g., CVE-2023-1234)
- Severity ratings from CVSS
- Affected clinical systems or assets
- Patch records with timestamps (MM/DD/YYYY format)
- Patch versions and deployment logs
- Screenshots showing before-and-after states to verify remediation [1][3]
For example, a HIPAA-compliant audit trail might include a Nessus scan identifying a critical SQL injection vulnerability in an EHR system, an ITSM ticket (#45678) documenting the application of a patch on 03/15/2024, and a re-scan confirming the issue was resolved.
Failing to maintain such documentation can lead to serious consequences. In the 2015 Anthem breach, where 78.8 million records were compromised, inadequate documentation of vulnerability scans contributed to OCR fines totaling $16 million. Investigators found no proof of timely patching, despite known risks [1]. According to the 2024 Verizon DBIR, 83% of healthcare breaches involved unpatched vulnerabilities, and poor audit trails often delayed remediation and increased compliance risks [5]. To avoid such outcomes, store these records in immutable formats and integrate tools like Qualys or Tenable with centralized logging systems. Regularly review your documentation - quarterly, at minimum - and retain records for at least 6 years to meet audit cycle requirements [1].
Use Censinet RiskOps™ for Streamlined Reporting
Manual documentation can leave gaps, but platforms like Censinet RiskOps™ simplify the process by centralizing PHI-related risk data from scans and healthcare third-party risk assessments. The platform auto-generates audit-ready reports with embedded evidence, provides role-based access, and visualizes vulnerabilities in clinical applications through heat maps. It also auto-populates NIST control mappings and offers one-click report exports for regulators [1]. Organizations using Censinet RiskOps™ report reducing manual documentation efforts by up to 70%, while maintaining continuous monitoring aligned with NIST guidelines [1].
The platform also facilitates collaboration across teams by automating evidence collection, benchmarking security posture, and ensuring relevant information reaches the right people. With 96% of healthcare organizations experiencing a data breach in the past two years and inadequate documentation cited in 42% of regulatory penalties by HHS OCR [4], automation isn’t just helpful - it’s essential for staying compliant and safeguarding patient care.
Conclusion
Vulnerability reports play a critical role in defending against threats that jeopardize patient safety and lead to significant financial losses. With healthcare breaches impacting over 289 million individuals in 2024 and the average breach costing $7.42 million [21], having a structured approach to reporting is no longer optional - it’s essential for safeguarding patients and minimizing financial risks.
The outlined processes turn vulnerability management into a powerful tool. By prioritizing remediation efforts on applications handling electronic Protected Health Information (ePHI) or supporting life-critical functions, you ensure that security resources are focused where they matter most. This strategy enhances visibility for stakeholders through role-based dashboards, supports compliance with frameworks like HIPAA and GDPR, and reduces operational risks, such as ransomware attacks that could disrupt electronic health record systems. Mapping vulnerabilities to healthcare-specific standards and integrating workflows with ITSM tools transforms vulnerability management into a competitive advantage. Concentrating on vulnerabilities that directly impact clinical applications and ePHI strengthens your overall risk management approach, ensuring both patient safety and regulatory compliance.
Platforms like Censinet RiskOps™ simplify this process by centralizing risk data. With features like auto-generated, audit-ready reports and a reduction in manual documentation efforts by up to 70%, these tools make vulnerability reporting more efficient. As the healthcare industry is expected to grow by about 22.5% between 2025 and 2028 [20], the increasing digital attack surface demands automated and context-aware reporting to stay ahead of threats.
With HIPAA violation settlements reaching as high as $2,134,831 per violation [20], adopting the practices outlined in this guide equips your organization with a proactive and resilient security strategy. This not only protects patients and maintains compliance but also preserves trust in an environment where the stakes have never been higher.
FAQs
What should be included in a clinical app vulnerability report?
A thorough clinical app vulnerability report needs to address every system and component involved in managing protected health information (PHI) or influencing patient safety. This means covering areas like:
- Patient portals
- APIs
- Cloud services
- Medical device software
- Software tied to clinical workflows
Additionally, it should highlight weaknesses in network infrastructure, databases, and system interfaces. The focus should be on high-severity vulnerabilities uncovered through methods like automated scans, manual assessments, or penetration testing - especially those that could jeopardize safety or regulatory compliance.
How do I prioritize vulnerabilities beyond CVSS in healthcare?
When it comes to managing vulnerabilities, healthcare organizations need to look beyond just CVSS scores. Factors like exploitability, system exposure, and existing compensating controls - such as firewalls or multi-factor authentication - play a crucial role in determining the real risk. The focus should always be on addressing critical issues that could impact ePHI (electronic protected health information) or patient safety.
Frameworks like the MITRE CVSS Rubric can provide guidance in evaluating these risks more effectively. Regular risk assessments, which combine manual testing with automated scanning, are essential for staying ahead of potential threats. For healthcare-specific needs, tools like Censinet RiskOps™ can simplify and streamline the process, making it easier to dynamically prioritize and manage vulnerabilities.
What evidence do I need to keep for HIPAA-compliant audit trails?
To create audit trails that comply with HIPAA, it's important to keep detailed records that cover the following:
- User actions: Track who accessed the data, when they did, and what they did with it.
- Timestamps: Ensure logs are accurate and time-synchronized.
- Action outcomes: Record whether actions were successful, failed, or resulted in errors.
- Security measures: Use encryption and access controls to ensure logs are tamper-proof.
- Retention period: Store these logs for a minimum of six years.
These secure and thorough audit trails aren't just a regulatory requirement - they're also critical for investigating incidents and preparing for audits.
